After being given two deckchairs (one faded, one with just its frame), I thought I'd have a go at doing them up for summer. A quick Google revealed an easy 'how to replace-deckchair fabric' tutorial on the Guardian site, as well as several good canvas companies, so I was all set.
Now, those of you who know me will know that I rarely refuse a freebie and have a keen eye for a project. I'm always taking things home to be painted, sewn, recovered, stuck down, changed or repaired in some way. Seeing potential isn't a problem for me. Realising it, on the other hand...
Now, those of you who know me will know that I rarely refuse a freebie and have a keen eye for a project. I'm always taking things home to be painted, sewn, recovered, stuck down, changed or repaired in some way. Seeing potential isn't a problem for me. Realising it, on the other hand...
Most of these projects never see the light of day. They're at the back of the wardrobe with all the projects (at the moment there's neglected fabric for cushion covers, table runners and bunting, all hiding in the unpainted chest of drawers that I've had for about three years).
I was determined to do this though and gave myself the deadline of Mr Haines' birthday barbie (Saturday).
And here it is – my step-by-step guide to recovering a deckchair.

1. Choose some cheerful canvas. I got mine from Deckchair Stripes (who were brilliant - get selection and I received the material in two days. Always go for decent heavyweight material or you risk embarassing rips/falling through the seat scenarios.
2. Measure up your fabric - you need the same length as the existing fabric, with an extra 20cm to wrap around the wooden bars. Cut your material to size and mark the bars that you need to nail the fabric to (and which way round the chair should be, or you'll end up doing it backwards, like I did the first time. Deckchair FAIL. I also dropped and BROKE my camera, which is why it's all Instagram-tastic on here today).
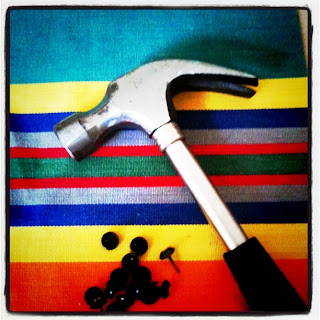
5. Wrap your fabric round the wooden bar and secure it with nails (I used about 7 per bar). Hammer them in as far and as straight as you can to make your chair as strong as possible. Then repeat on the other side.
6. Voila! Done and ready for relaxing. Just add sun, a garden and a mint julep and summer bliss is yours.
Cost:
Fabric £15 for 1.5m (I needed 3m)
Nails £2 for 25
Postage £3.25
Total = £35.35


Thank you....we've been saved from another DIY disaster! Roll on the summer weather x
ReplyDelete